Your task is to expand the HelloAndroid example we showed in class. For this first exercise, you will create an Android UI with one text field, centered at the top of the screen, and one button. The text field will initially display the text Tap to Change Color. Every time you tap the button, you will generate a random color using RGB values, change the text to that color, and display the values for the color in the following format (assuming you are displaying a light grey with values 100/100/100): COLOR: 100r, 100g, 100b.
Please create 2 different projects, for the two approaches listed 1. and 2. below.
In both cases, you start from an "Empty Activity" (not "No Activity", not "Basic Activity") in the Android Studio new project wizard.
The "package name" for your submissions throughout the entire quarter should follow this format:
edu.ucsb.cs.cs184.<your uname>.<your project name>
The two project names for this first assignment should be named <first initial><last name>ProgColorSwap and <first initial><last name>XMLColorSwap, so for Prof. Höllerer, for example, the complete two package names would be:
    edu.ucsb.cs.cs184.holl.thollererprogcolorswap
    edu.ucsb.cs.cs184.holl.thollererxmlcolorswap
This way, when the graders run the resulting apps (.apk), they can easily gauge whose app they're grading, and AndroidStudio will not give them any conflicts when loading all your different projects.
You can make your own choice between Kotlin and Java (class encourages use of Kotlin), and for minimum API level, you can set "API 21: Android 5.0 (Lollipop)" (or lower if need be).
Here are the two approaches to implement:
- Project <first initial><last name>ProgColorSwap: Program the entire
interface directly in code, not touching XML files. Your content view (set with Activity.setContentView()) should be a Layout (easiest, and recommended, would be a LinearLayout) that contains
a TextView and button in vertical arrangement, both horizontally centered. The button will be labeled "Tap me !", and you should pick a suitable text size (in
sp units) that makes the text line cover more than half the view width:

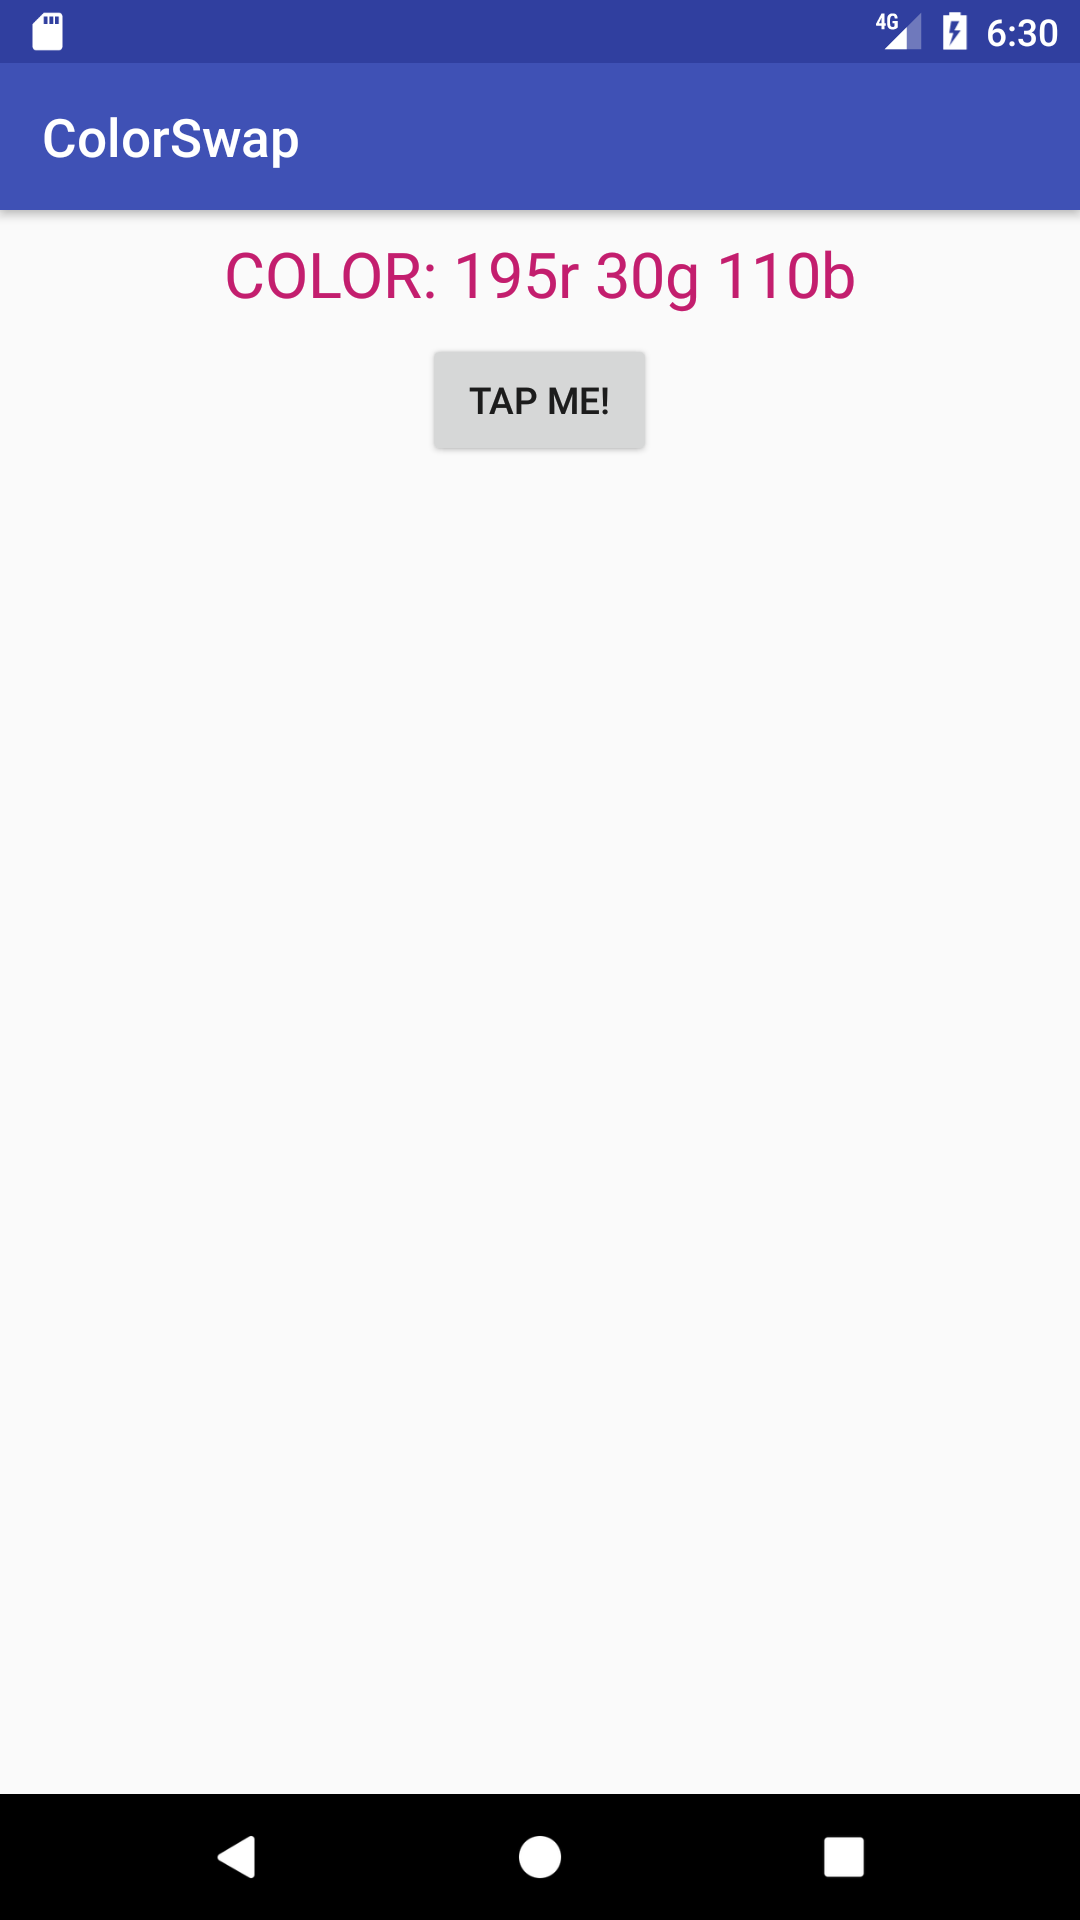
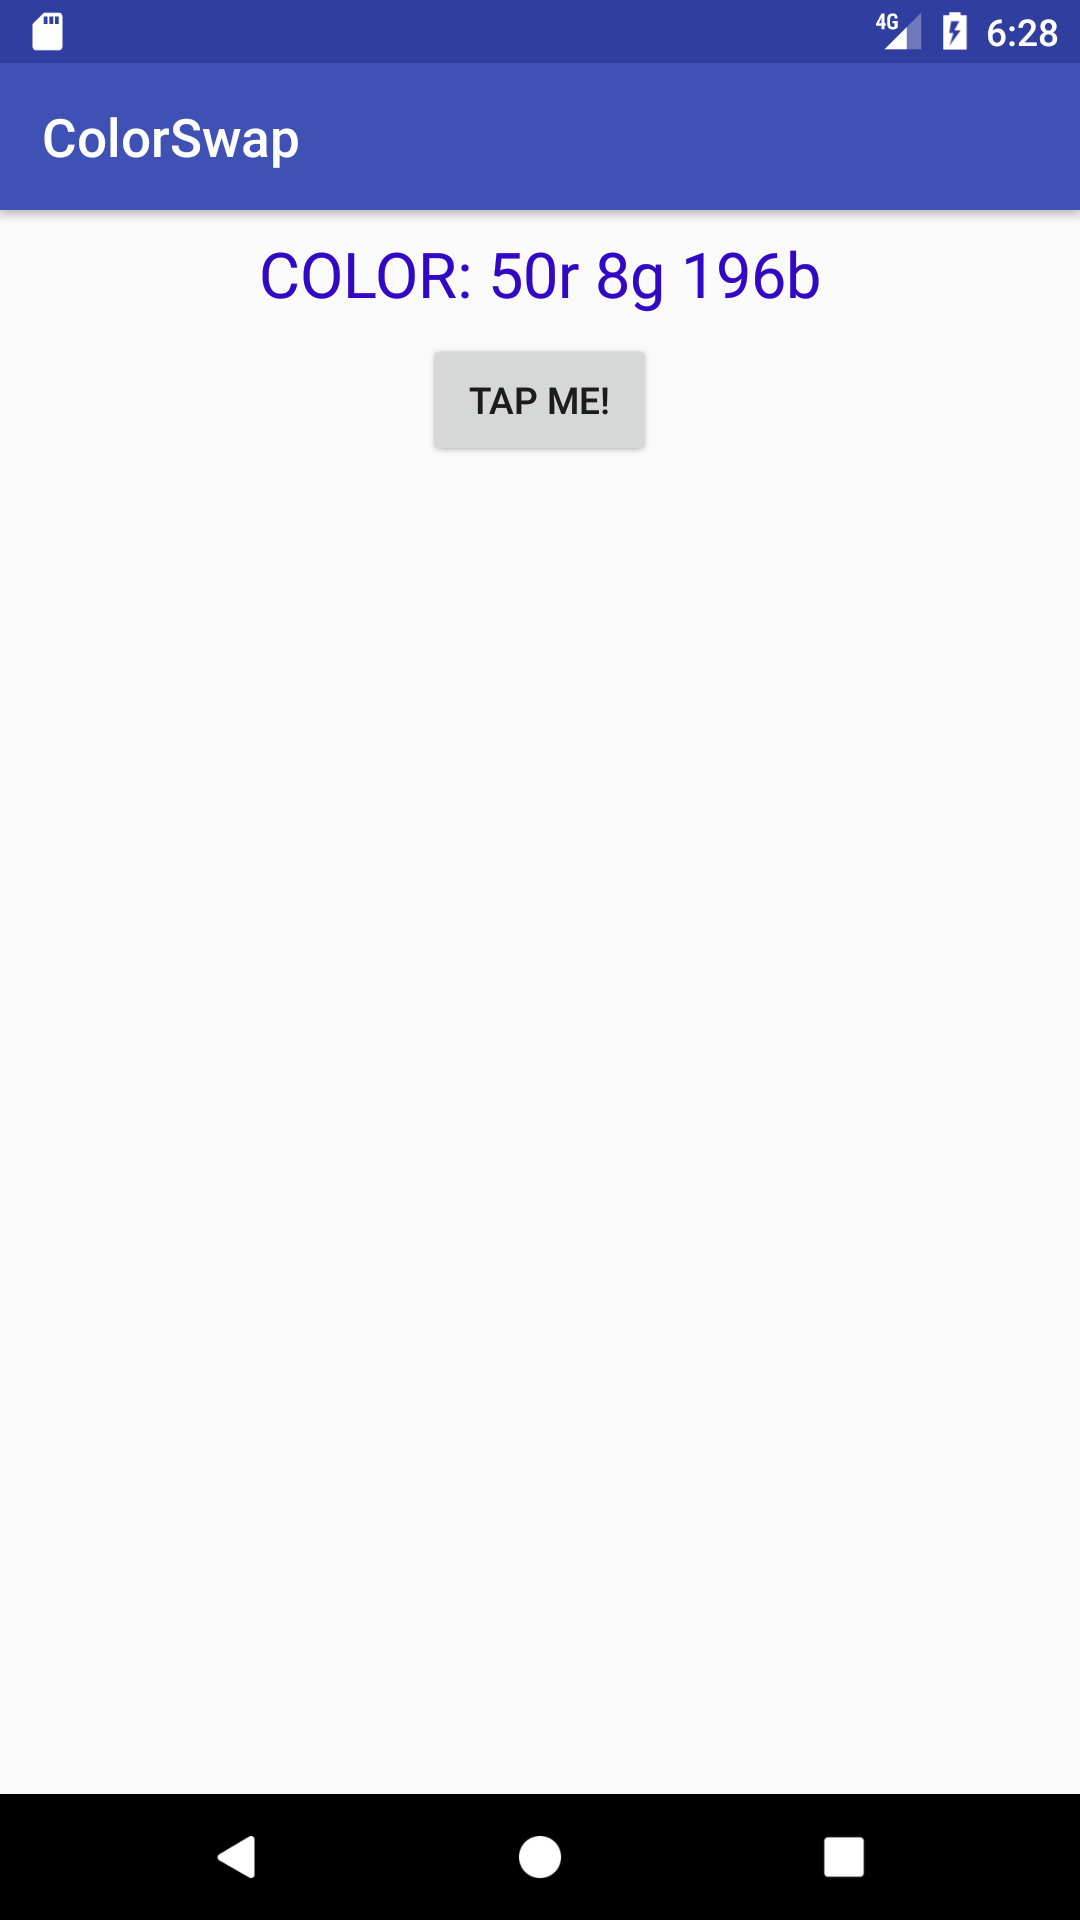
Instead of just ColorSwap, the AppBar should say here: thollererProgColorSwap (replace thollerer with your own FirstInitialLastName combination)
- Project <first initial><last name>XMLColorSwap: Again, you start from an "Empty Activity,". You will modify the XML files
describing this simple view, either by editing them in text mode or by
using the graphical Android Studio Designer Tool (we demo that tool in class and discussion). You will add a horizontally
centered TextView and button to the view and set the onClick option of the button either in the XML or (equivalently) in the
Designer Tool:
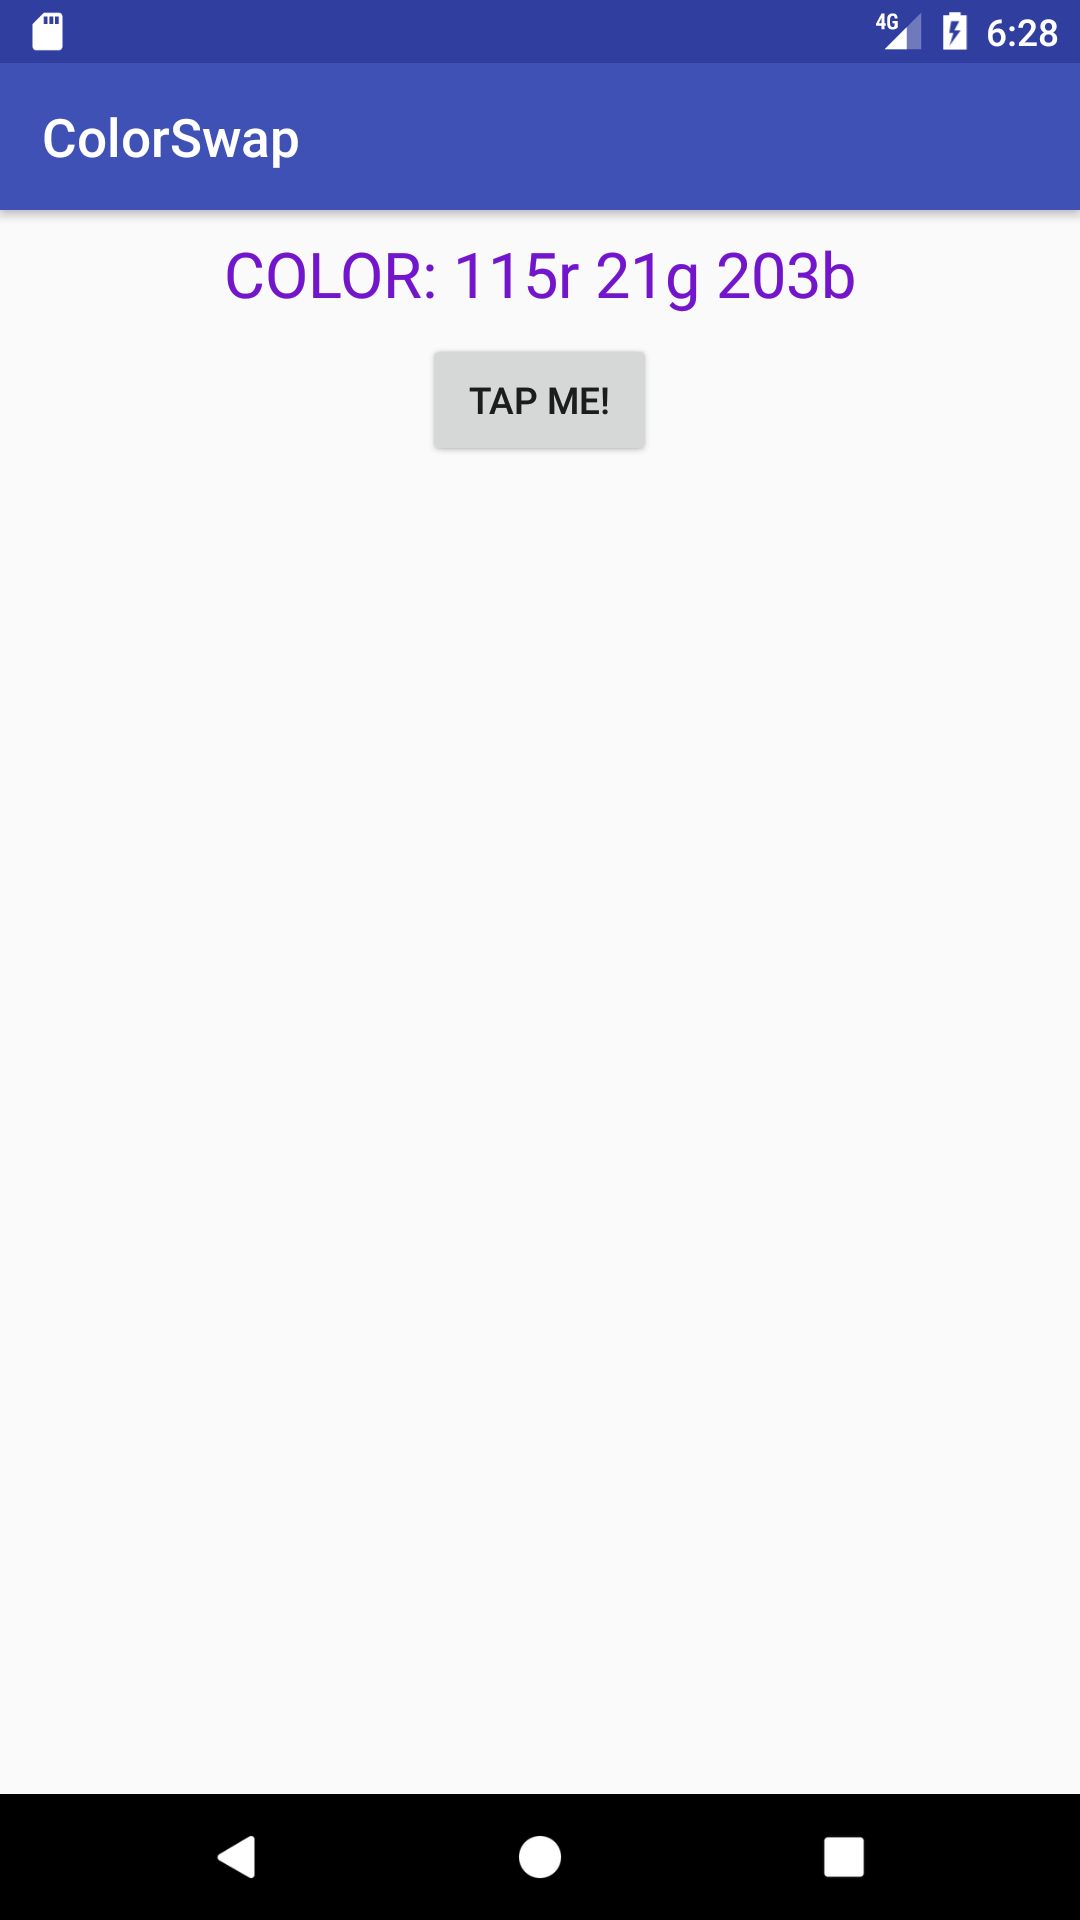
Instead of just ColorSwap, the AppBar should say here: thollererXMLColorSwap
Apart from the different app name, the second version should look the same as the first. Your views do not have to be precisely identical but should obey the same formatting constraints (horizontally centered, same text size, etc.). The main thing that can vary is the spacing of the elements, though in the simplest solution, this should end up the same anyways.